皆さんこんにちは。
皆さんはTerraformを使っていますでしょうか。 新年度になり、メンバーも増えて新しく開発環境を準備する機会も増えたことと思います。
この記事ではAWS Cloud9を使って5分でTerraformの開発環境を作る方法を紹介します。
- AWS Cloud9 とは
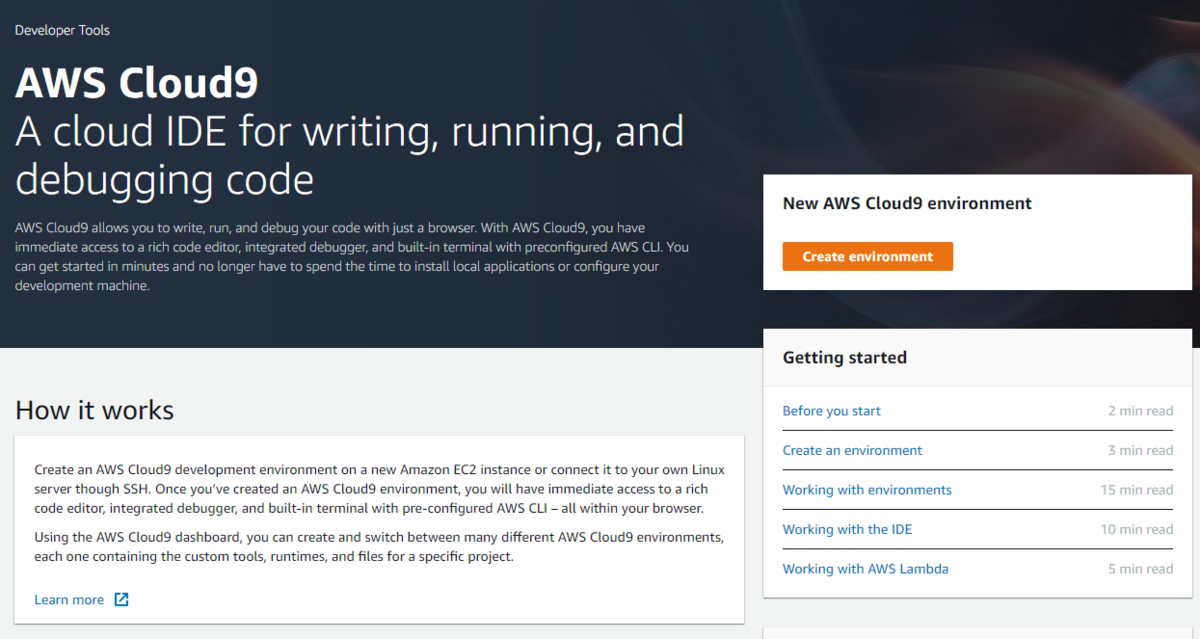
AWS Cloud9 は、ブラウザのみでコードを記述、実行、デバッグできるクラウドベースの統合開発環境 (IDE) です。これには、コードエディタ、デバッガー、ターミナルが含まれています。
Cloud9 には、JavaScript、Python、PHP などの一般的なプログラム言語に不可欠なツールがあらかじめパッケージ化されているため、新しいプロジェクトを開始するためにファイルをインストールしたり、開発マシンを設定したりする必要はありません。Cloud9 IDE はクラウドベースのため、インターネットに接続されたマシンを使用して、オフィス、自宅、その他どこからでもプロジェクトに取り組むことができます。
また、Cloud9 では、サーバーレスアプリケーションを開発するためのシームレスなエクスペリエンスが提供されており、リソースの定義、デバッグ、ローカルとリモートの間でのサーバーレスアプリケーションの実行の切り替えを簡単に行えます。Cloud9 を使用すると、開発環境をすばやくチームと共有し、ペアプログラミングを行って互いの入力をリアルタイムで追跡できます。
早速以下に具体的な方法を説明していきます。
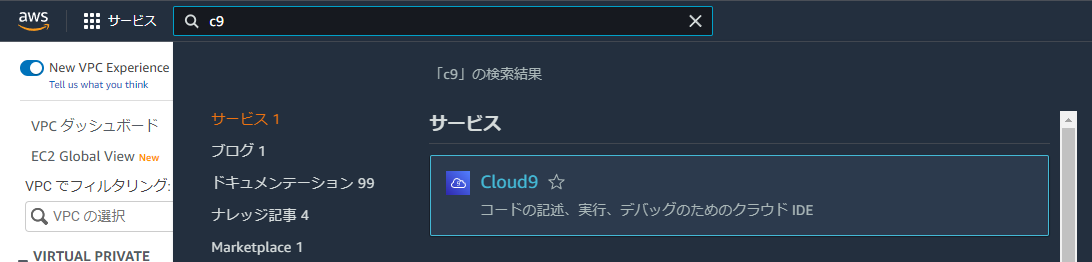
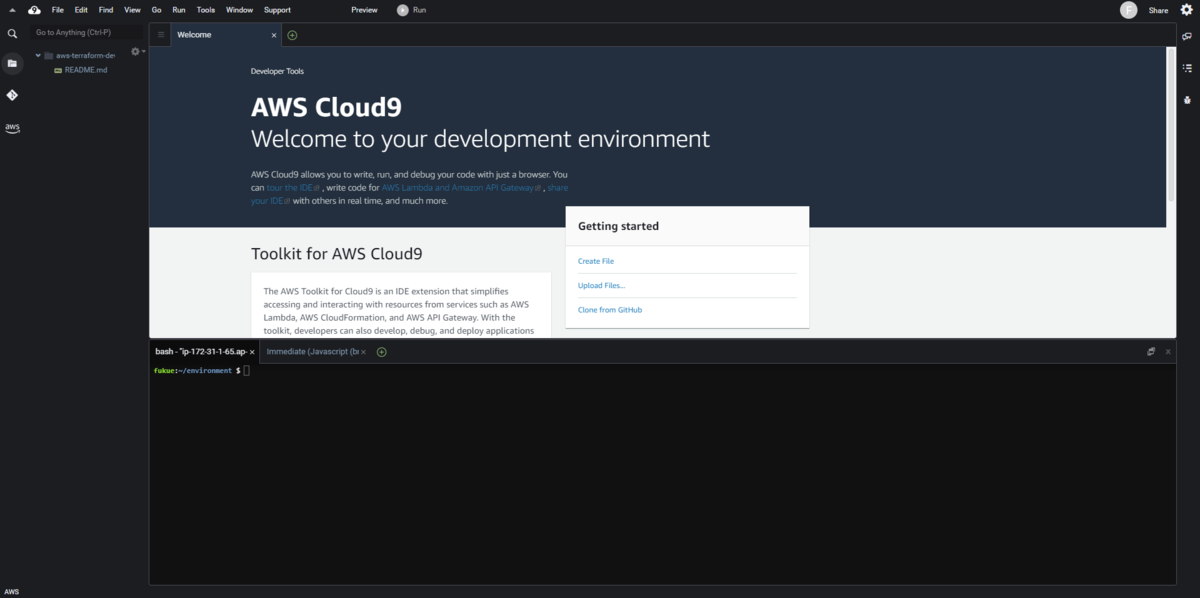
まずはマネージメントコンソールからCloud9へ移動します。
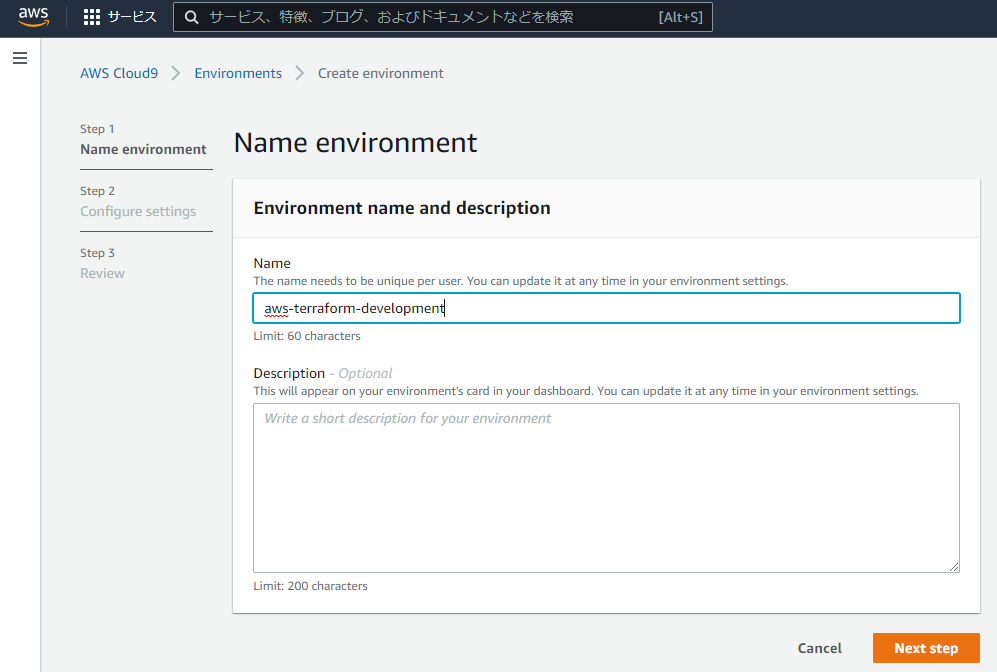
[Create environment] からCloud9環境を作っていきます。
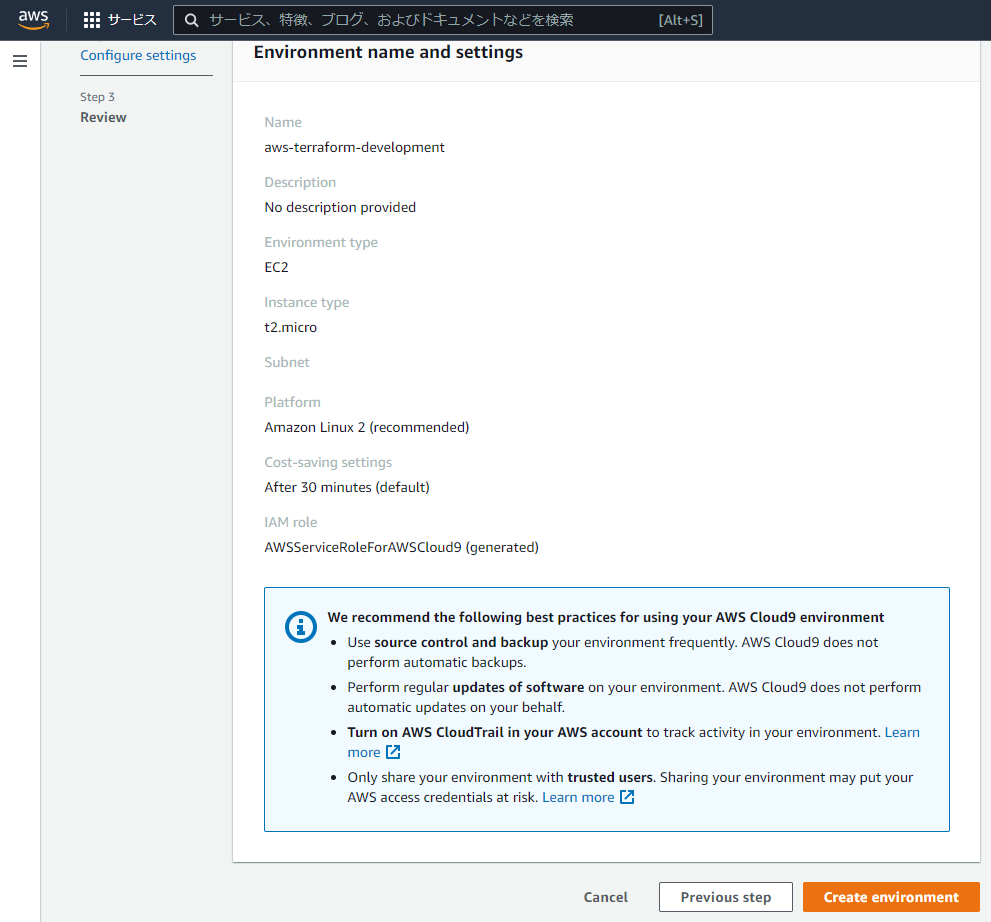
今回は環境名をaws-terraform-developmentとしました。
次に環境設定です。Cloud9では裏でLinuxサーバが動作します。既存のサーバも使うことができますが、今回は新規にEC2インスタンスを立てることにします。
Instance typeはt2.microを選択。
PlatformはAmazon Linux2にします。
Cost-savingは一定時間利用していないとEC2インスタンスを停止する設定です。
今回はデフォルトの30minを選択します。

確認画面で問題がなければ[Create environment] をクリックしましょう。Cloud9のIDEへ自動で移動します。
裏ではEC2インスタンスが作られています。

利用可能になったらリージョンの設定とCredentialsを確認します。
$ echo "export AWS_REGION=ap-northeast-1" | tee -a ~/.bash_profile
$ export AWS_REGION=ap-northeast-1

$ aws sts get-caller-identity
※Cloud9ではAWS Managed Temporary Credentials(AMTC)と呼ばれる権限がデフォルトで付与されます。 AMTCでは一部のAWSサービス(IAM,STS,Cloud9など)に対して操作制限があるため、開発範囲によってはAMTCを無効化し下記の対応を実施しましょう。
Cloud9にはデフォルトでTerraform v1.2.1が入っています。
$ terraform -version
Terraform v1.2.1
on linux_amd64
Terraformのバージョンを使い分ける場合はtfenvを導入しておきましょう。
$ git clone https://github.com/tfutils/tfenv.git ~/.tfenv
$ echo 'export PATH="$HOME/.tfenv/bin:$PATH"' >> ~/.bash_profile
$ source ~/.bash_profile
$ tfenv install 1.0.11
~~~
$ tfenv list
  1.0.11
No default set. Set with 'tfenv use <version>'
$ tfenv use 1.0.11
Switching default version to v1.0.11
Switching completed
$ terraform -version
Terraform v1.0.11
Terraform v1.0.11に切り替えられました。
それでは実際にリソースを作りましょう。 以下をmain.tfとして保存します。
terraform {
  required_providers {
    aws = {
      source  = "hashicorp/aws"
      version = "~> 3.0"
    }
  }
}

# Configure the AWS Provider
provider "aws" {
  region = "ap-northeast-1"
}

# Create a VPC
resource "aws_vpc" "tf-example" {
  cidr_block = "10.0.0.0/16"
  tags = {
    Name = "tf-example"
  }
}
terraform initでproviderを準備しましょう。
$ terraform init

Initializing the backend...

Initializing provider plugins...
- Finding hashicorp/aws versions matching "~> 3.0"...
- Installing hashicorp/aws v3.75.2...
- Installed hashicorp/aws v3.75.2 (signed by HashiCorp)

Terraform has created a lock file .terraform.lock.hcl to record the provider
selections it made above. Include this file in your version control repository
so that Terraform can guarantee to make the same selections by default when
you run "terraform init" in the future.

Terraform has been successfully initialized!

You may now begin working with Terraform. Try running "terraform plan" to see
any changes that are required for your infrastructure. All Terraform commands
should now work.

If you ever set or change modules or backend configuration for Terraform,
rerun this command to reinitialize your working directory. If you forget, other
commands will detect it and remind you to do so if necessary.
作成するリソースはVPCです。
$ terraform plan

Terraform used the selected providers to generate the following execution plan. Resource actions are indicated with the following symbols:
  + create

Terraform will perform the following actions:

  # aws_vpc.example will be created
  + resource "aws_vpc" "example" {
      + arn                                  = (known after apply)
      + cidr_block                           = "10.0.0.0/16"
      + default_network_acl_id               = (known after apply)
      + default_route_table_id               = (known after apply)
      + default_security_group_id            = (known after apply)
      + dhcp_options_id                      = (known after apply)
      + enable_classiclink                   = (known after apply)
      + enable_classiclink_dns_support       = (known after apply)
      + enable_dns_hostnames                 = (known after apply)
      + enable_dns_support                   = true
      + id                                   = (known after apply)
      + instance_tenancy                     = "default"
      + ipv6_association_id                  = (known after apply)
      + ipv6_cidr_block                      = (known after apply)
      + ipv6_cidr_block_network_border_group = (known after apply)
      + main_route_table_id                  = (known after apply)
      + owner_id                             = (known after apply)
      + tags                                 = {
          + "Name" = "tf-example"
        }
      + tags_all                             = {
          + "Name" = "tf-example"
        }
    }

Plan: 1 to add, 0 to change, 0 to destroy.
$ terraform apply
Terraform used the selected providers to generate the following execution plan. Resource actions are indicated with the following symbols:
  + create
Terraform will perform the following actions:

  # aws_vpc.example will be created
  + resource "aws_vpc" "example" {
      + arn                                  = (known after apply)
      + cidr_block                           = "10.0.0.0/16"
      + default_network_acl_id               = (known after apply)
      + default_route_table_id               = (known after apply)
      + default_security_group_id            = (known after apply)
      + dhcp_options_id                      = (known after apply)
      + enable_classiclink                   = (known after apply)
      + enable_classiclink_dns_support       = (known after apply)
      + enable_dns_hostnames                 = (known after apply)
      + enable_dns_support                   = true
      + id                                   = (known after apply)
      + instance_tenancy                     = "default"
      + ipv6_association_id                  = (known after apply)
      + ipv6_cidr_block                      = (known after apply)
      + ipv6_cidr_block_network_border_group = (known after apply)
      + main_route_table_id                  = (known after apply)
      + owner_id                             = (known after apply)
      + tags                                 = {
          + "Name" = "tf-example"
        }
      + tags_all                             = {
          + "Name" = "tf-example"
        }
    }

Plan: 1 to add, 0 to change, 0 to destroy.

Do you want to perform these actions?
  Terraform will perform the actions described above.
  Only 'yes' will be accepted to approve.

  Enter a value: yes

aws_vpc.example: Creating...
aws_vpc.example: Creation complete after 1s [id=vpc-0b10ab304eb6b02dc]

Apply complete! Resources: 1 added, 0 changed, 0 destroyed.
main.tfで記述したとおりにVPCが作られました!

Cloud9ではTerraformやCredentialがデフォルトでインストールされているため簡単に開発環境を準備できます。
Terraformの他にもPython, PHP, Rubyなど多数の言語開発環境が備わっていたり、共同開発機能もあるので用途は様々あると思います。
プロジェクトごとにCloud9環境を使い分け、不要になったら環境ごと破棄するといったCloud IDEならではの使い方もできます。
ぜひCloud9をお試しください!
参考: aws.amazon.com
執筆: 福江 正伍, フェロー